How to Stretch a Canvas: The Beginner’s Guide
Learning how to stretch the canvas is vital to any avid painter and can help them achieve the desired look for their artwork before displaying it. You can also stretch a canvas print that you purchase.
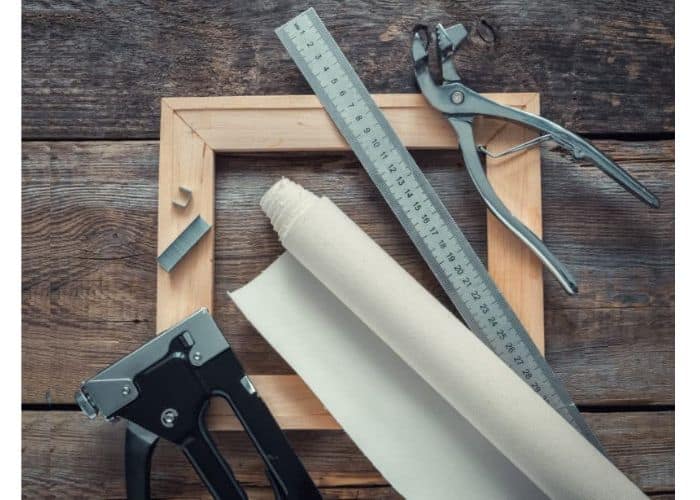
Gather Your Materials and Tools
There are several basic things that you will need, for tools and materials, to stretch a canvas or canvas print.
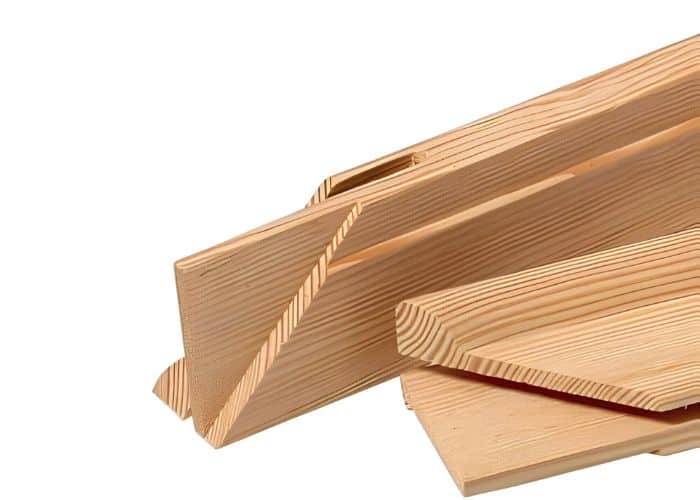
Buy stretcher bars or build a frame
Stretcher bars come in many different sizes and allow you to create any size artwork. You can also build your own stretcher bars using 45-degree cuts on the ends and securing them together with staples.
Source: ArtSupply.com
Choosing the canvas
There are many different types of canvas, however, unprimed canvas is going to be easier to stretch. Canvas is often sold in rolls, just be sure that the fabric is significantly larger than the frame.
Other necessary equipment
- Ruler
- Spray bottle
- Gesso
- Canvas stretching pliers
- Staple gun (and something to remove staples)
- Scissors or utility knife
- Eye protection
- Sandpaper
Stretching the Canvas
Now it is time to stretch your canvas or canvas print.
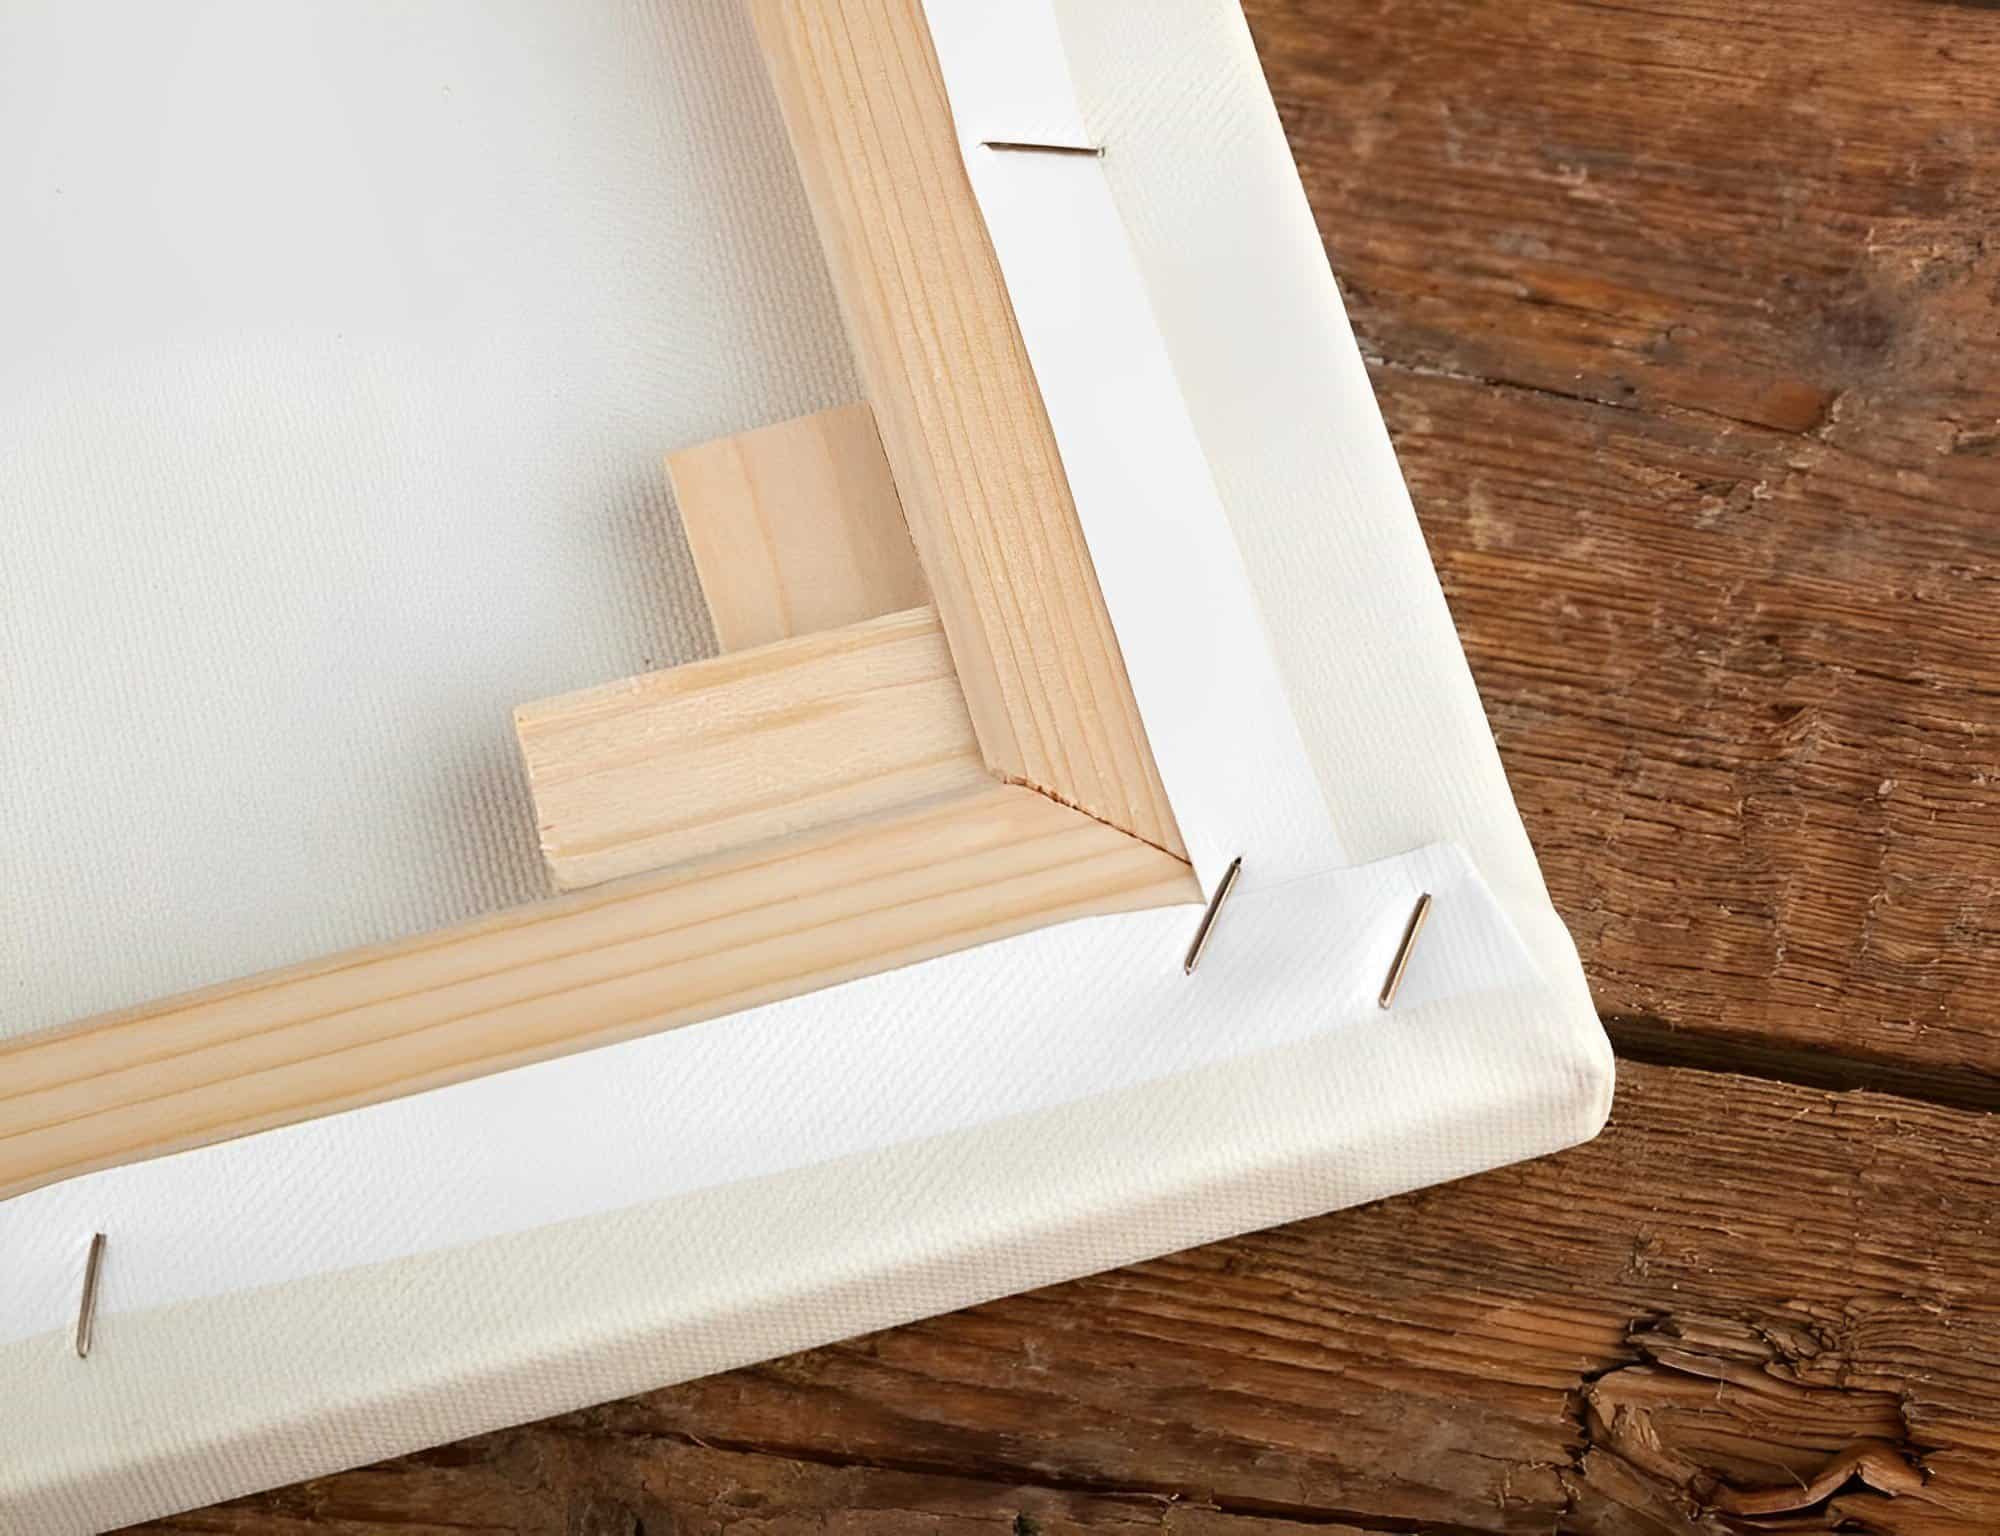
Step 1: Put the stretcher bars together
The corners of the stretcher bar easily fit together and shouldn’t require glue or nails. The pressure of the canvas pulling on the bars will also help to keep them in place.
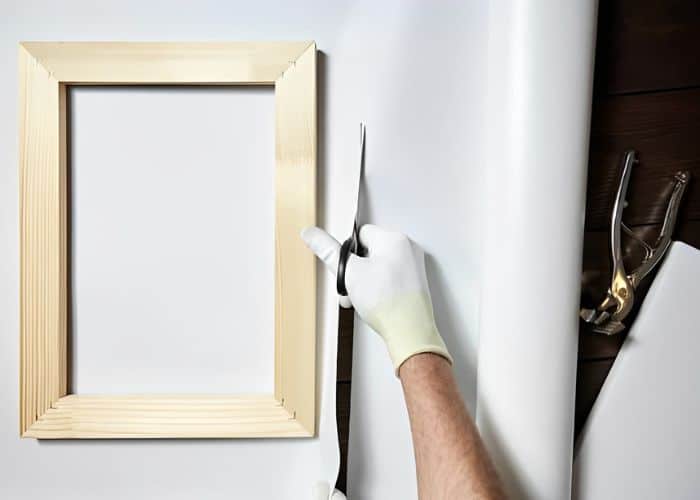
Step 2: Cutting blank canvas fabric
Next, lay your canvas so the image or part you will paint is face down. Place the frame on top of the canvas, in the center, and cut the canvas so there are two to three inches of extra material on each side. This will ensure that you have enough canvas to cover the frame. Make sure the canvas is smoothed out and there are no creases or wrinkles in the fabric.
Step 3: Stretch the canvas
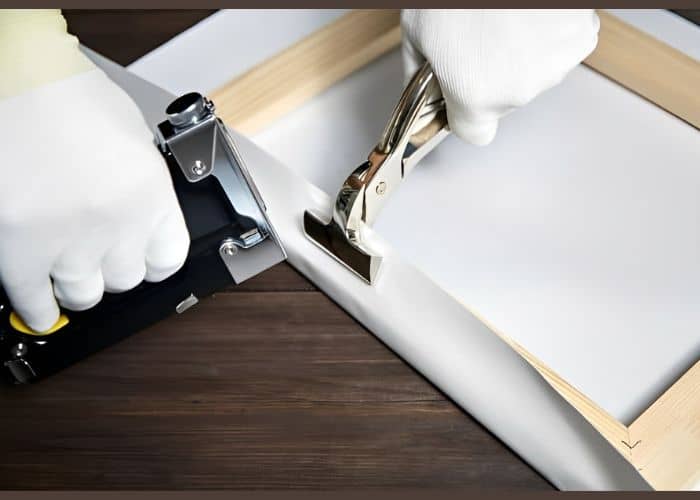
With the frame laid in the center on top of the canvas, take the longest side of the canvas closest to you and fold it over the frame. Place one staple in the middle and on each end, so there are three staples on that side. Always make sure that you are starting in the middle of the fabric and working your way out while you stretch a canvas.
Go to the other long side and staple the same way, starting in the middle, making sure the canvas is pulled across tightly.
If you are using a canvas that is not already primed, spray the back of the canvas with water, this will help it to shrink and tighten the canvas once it is stretched.
Then after you have dampened the canvas, move to the shorter sides and staple those just as you did with the longer sides, starting in the middle and working to the outside edges, leaving the corners for last.
It helps to use a canvas pliers to pull the edges of the canvas tight across the frame.
Step 4: Fold and staple the corners
Once you have pulled the outer edges of the canvas and have all sides stapled, except the corners, it is time to staple the corners down. This is often the trickiest part of stretching a canvas for many people.
Make sure to pull the edges of the corners very tight, you might need the canvas pliers for this again. Pull the corners over each other and make sure that there is not any overhang of the canvas that you will see when it is flipped over, then staple them down. Make sure you have a staple remover handy as well, just in case you don’t get it right the first time.
Here is a great instructional video on how to fold corners like a pro.
Canvas Stretching Tips and Tricks
If you are priming the canvas with gesso after you have stretched it, make sure to do so in a ventilated area or using a respirator mask to avoid dizziness or headaches from fumes.
To check the tightness, flip your canvas over and tap your finger on it, smaller canvases should sound a bit like a drum. A large canvas, while still taut, might feel a little looser as they are stretched over a larger area.
For best results, use a thick, high-quality canvas that is unprimed. If you are planning on shipping a painting, it is best to stretch it on the stretcher bars first, paint it, let it dry, then remove it to ship. The painting should then be placed back onto the original stretcher bars, just not pulled as taut to prevent cracking.
If you would like to see how this is done, you can check this video from Swarez Art to see how to stretch a large canvas print.
Once you have done stretching the canvas, it’s time to frame your canvas and hang it on the wall! Being able to stretch your own canvas allows you the freedom to customize your canvas sizes and location as well as save you money.
NEWSLETTER
Sign up for the 365Canvas newsletter.
Get notified of the best personalisation ideas to surprise your loved ones on special occasions.