How to Hang Canvas Art With and Without Nails
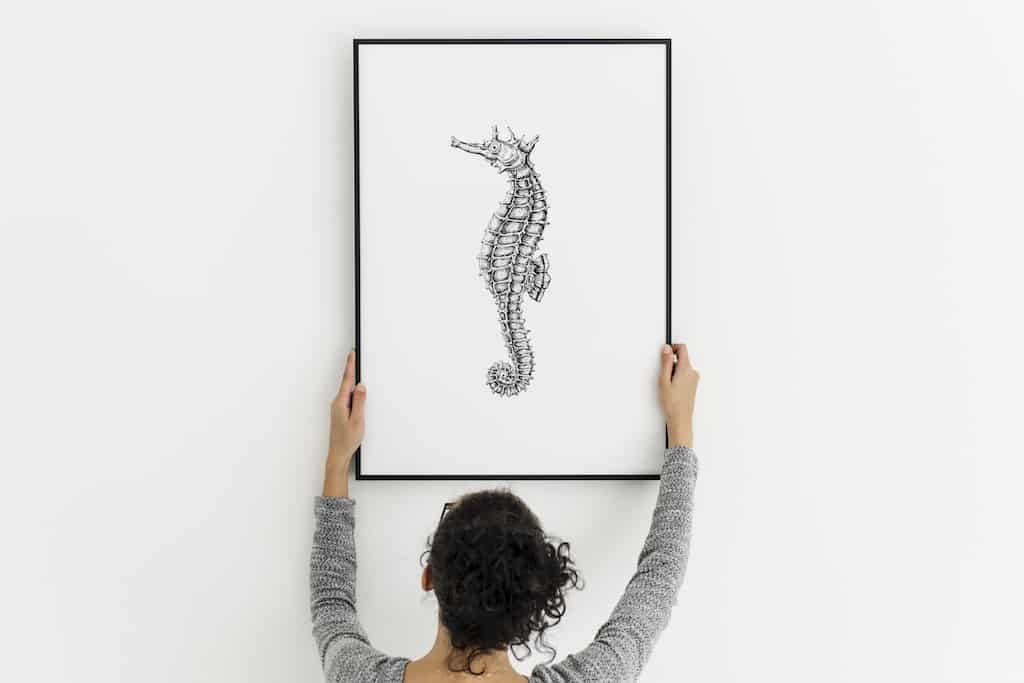
If you’re currently renting, you’ve probably considered decorating your walls with canvas prints. But shrink from the idea when you consider how to hang canvas art without making huge dents on the wall that you’ll have to cover up when leaving.
Well, fear not! We have the tips and tricks to show you how to hang art cleanly without nails regardless of the canvas sizes you opt for. Even if you don’t mind using nails, we have something for you! Let’s get started.
How to Hang Canvas Art with Sawtooth Hangers Pre-installed
What To Use With Sawtooth Picture Hangers?
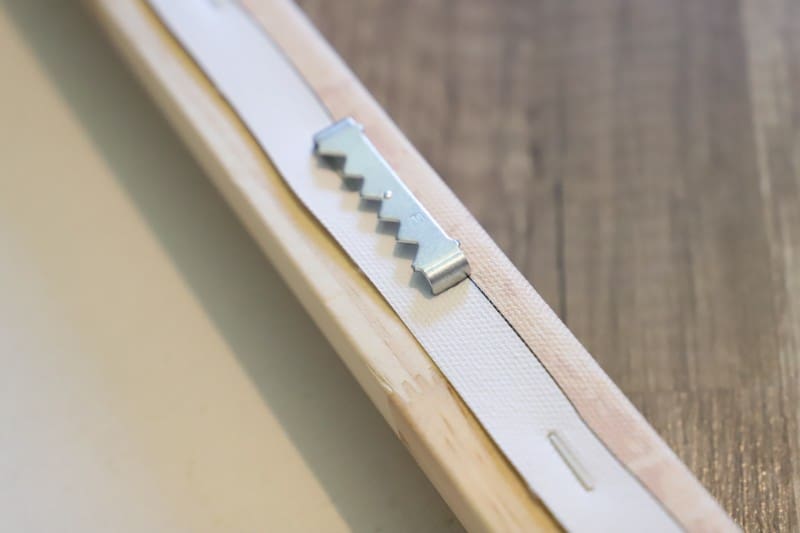
All of 365Canvas prints come with sawtooth hangers. So how to hang this kind of print?
It’s recommended to use nails for this type of canvas art but here are some other factors you’ll need to consider:
- Nails will be your best option if your picture weighs nothing more than 1.9kg or 90 pounds, as nails won’t be efficient for sizes greater than that. So ensure your canvases are small and medium sizes if you intend to use nails.
- Pick nails based on the canvas size, for 8 x 10 canvases use small nails and for 16 x 16 or 20 x 20 go for medium-sized nails.
- Choose steel or brass nails to prevent rust later on.
How to Hang Canvas Prints On Wall without Sawtooth Hangers
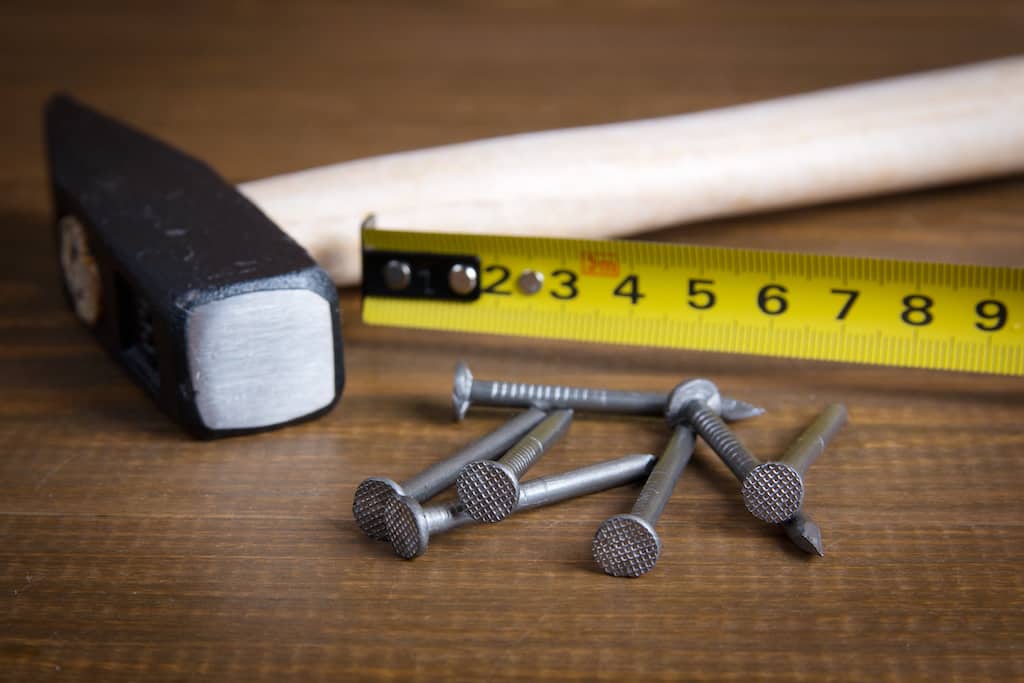
The process is straight to the point, hammer in the nail and hang the canvas. When brainstorming on how to hang canvas art efficiently there are basic tools you’ll need to put in mind for a smooth process:
- Nails
- Pencil or piece of chalk or painter’s tape
- Hammer
- Level
- Tape measure
How To Hammer Nails
With that said, here’re 4 steps to hammer in nails perfectly before hanging the canvas art:
Step 1: Pick the spot where you intend to place the picture
Measure the area where you intend to hang the canvas. Take measurements of the distance from the floor, side objects, and ceiling. It’s best practice to hang canvas art with its center anywhere from 56 to 60 inches from the ground and 8 to 10 inches over any furniture piece.
Step 2: Mark the Spot
You can do this in two ways:
- Use a pencil, painter’s tape or piece of chalk to mark the center point with an ‘x’: This will help guide you when you begin hammering. It’s recommended that you have someone help you as they can hold the frame up so you can measure the exact center.
- Use chalk to mark the wall: Just above the center tooth of the pre-installed sawtooth hanger you’ll see a little bump raised, all you’d need to do is, rub your chalk on this bump. And then press the spot on the hanger where you’ve just rubbed the chalk. This will create your mark
Step 3: Place the nail on the spot, and then hammer it in with one or two hits. It’s important to leave 1.5 in (3.8cm) – 2 in (5.1cm) sticking out of the wall, so you can hang the canvas properly.
Step 4: Hang your canvas art on the nail. Due to the multiple teeth on a sawtooth hanger, you’ll have to adjust it till it hangs perfectly. To be certain it’s straight you can utilize a level or use a smartphone level app if you don’t want to use an additional tool.
How to Hang Canvas Wall Art Without Nails or Sawtooth Hangers
If you consider hanging wall art without nails or Sawtooth Hangers, you can go for adhesive strips.
To do this perfectly you’ll need to know the weight of your canvas (check the weight rating of the adhesive strips), to ensure that the adhesive strips you go for will be able to hold the picture up.
You’ll need to get 4 adhesive strips, each one for the corner of the art. But for large canvases, you may need more.
Here are tips to follow:
- It’s recommended to use adhesive strips indoors and they may weaken if placed outdoors.
- Since this is your first test, don’t hang canvas at with adhesive strips over your bed.
- Do not hang the picture on wallpaper as it may not hold for long.
So let’s see the steps on how to hang canvas art without nails:
Step 1: Take a measurement and mark each top corner with a pencil to ensure you get the right spot. You can also use a level to make sure it stays straight.
Step 2: Put the adhesive strips on all corners of the wood frame. But depending on the size you can put more in each corner as required.
Step 3: Align the canvas to your pencil markings on the wall and slowly press it in. Go through the instructions of your adhesive strip manufacturer to ensure there’s nothing you missed out.
Simple Tips on How to Hang A Canvas Print
We’ve put together amazing tips that’ll help you go through the hanging process with ease whether you’re going with nails or without.
- Put your canvas art away from where you’ll be working, you don’t want your hammer falling and denting your beautiful piece.
- Get a cloth damp and clean the wall out. However, avoid using household cleaners that’ll leave a slippery residue. A great alternative would be to dip a paper towel in alcohol and gently rub it on the wall, and then leave it to air dry.
Conclusion
Ugly holes and nails sticking out disproportionately from the wall can ruin your beautiful space. But with the right tips and tricks on how to hang canvas art expertly with and without nails, you’ll be able to display your canvas print more impressively and keep the beauty of your home.
Read More:
NEWSLETTER
Sign up for the 365Canvas newsletter.
Get notified of the best personalisation ideas to surprise your loved ones on special occasions.